
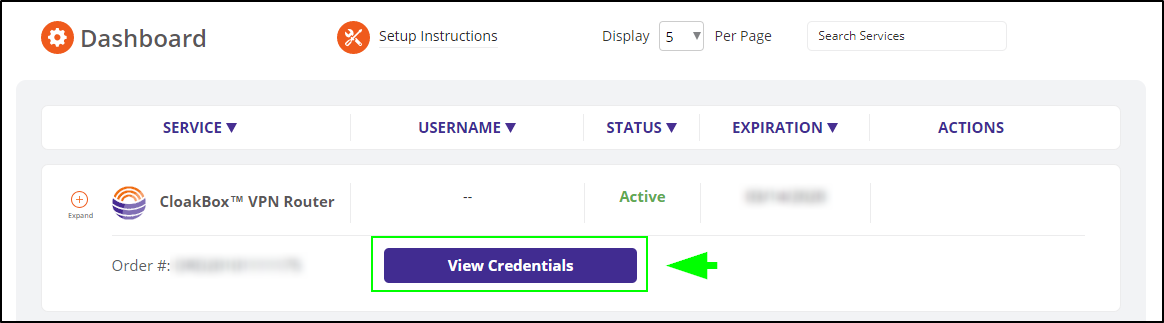
1) Log into your dashboard here. Then, next to your CloakBox order # click View Credentials
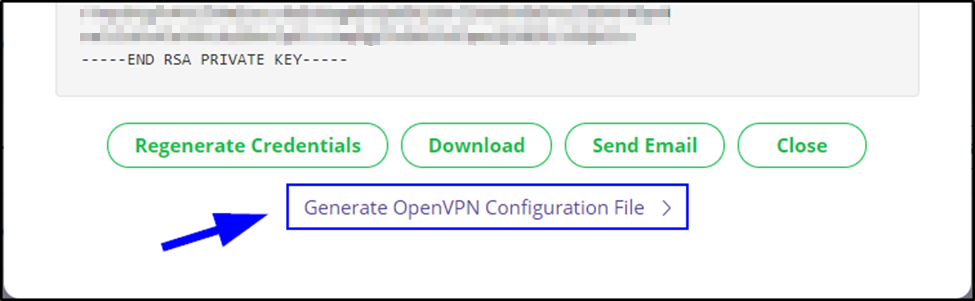
2) Scroll to the bottom of the popup that appears, and click Generate OpenVPN Configuration File
3) In the Download OpenVPN Configuration popup that appears select the VPN gateway you wish to connect to and click Download. In this example we have selected Atlanta.
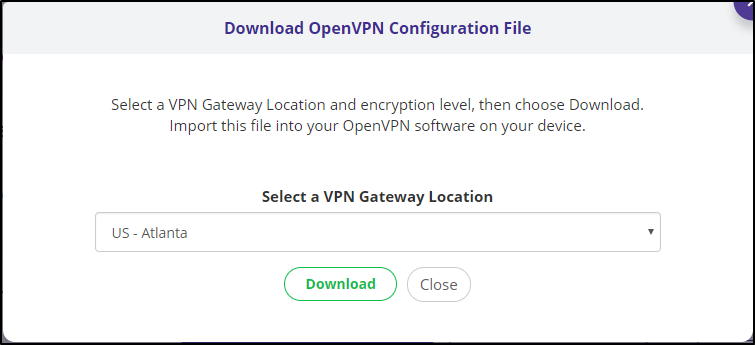
The file will download to the folder where you usually download files from the internet
(Note: By default, this is the ‘Downloads’ folder on both Mac and Windows)
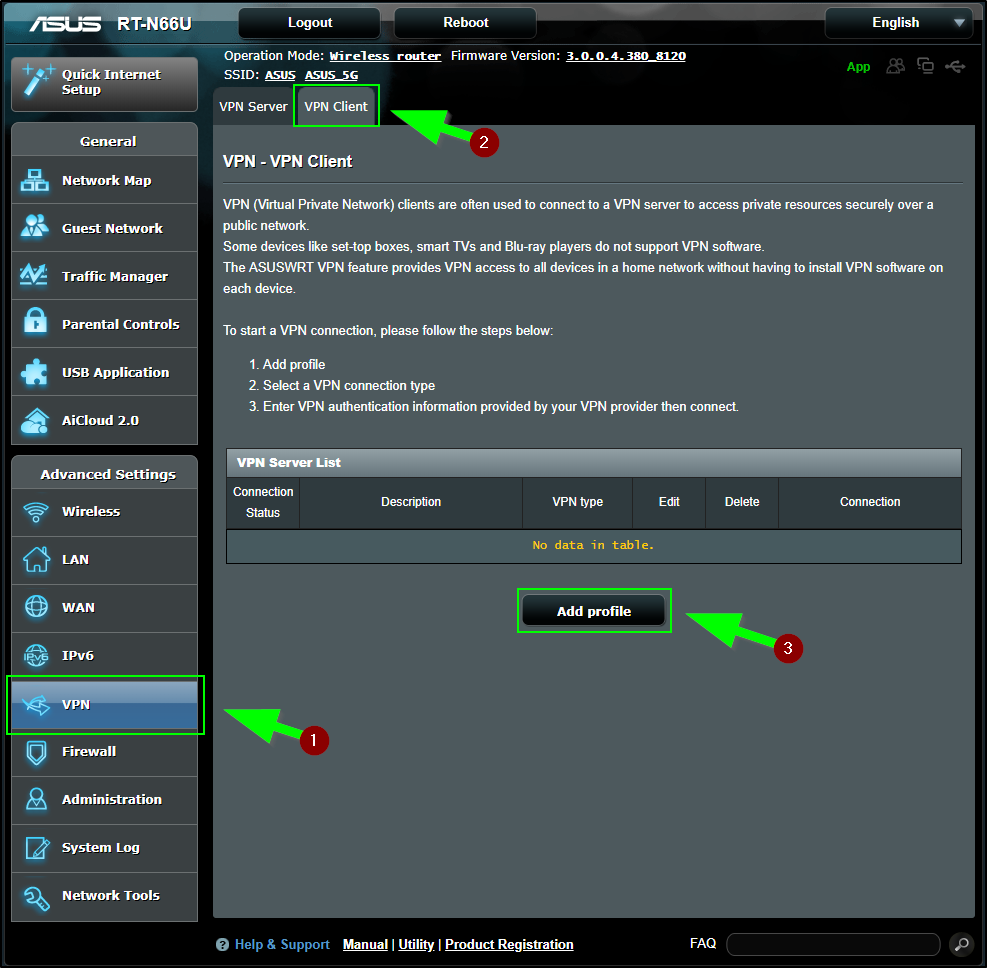
4) Next, log into your CloakBox to upload the OpenVPN configuration you just downloaded.
5) Once you’ve logged in to your CloakBox, click: VPN > VPN Client tab > Add profile
6) In the next window click the OpenVPN tab
– Give the profile a Description
– Click Choose File, then navigate to and select the .ovpn file you downloaded in the previous steps.
– Click Upload
(Note: In this example we selected Atlanta, so the file is named vpn.atl.witopia.net (where atl = Atlanta). Your actual file may have a different name ending in .ovpn)
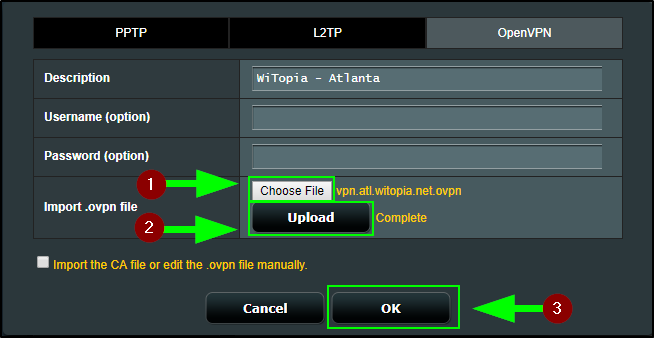
7) When Complete appears, click OK to close this window
8) Then, click Activate and wait for the check to appear under Connection Status
(Note: If you are already connected, you will need to click Deactivate to disconnect before connecting the new config.)

9) You’ve successfully connected your VPN! To disconnect simply click Deactivate
10) You can add more profiles to (up to fine) by repeating the steps above. You may toggle between them as you wish by clicking Deactive/Activate
Recent Comments